
Estimated reading time: 10 minutes
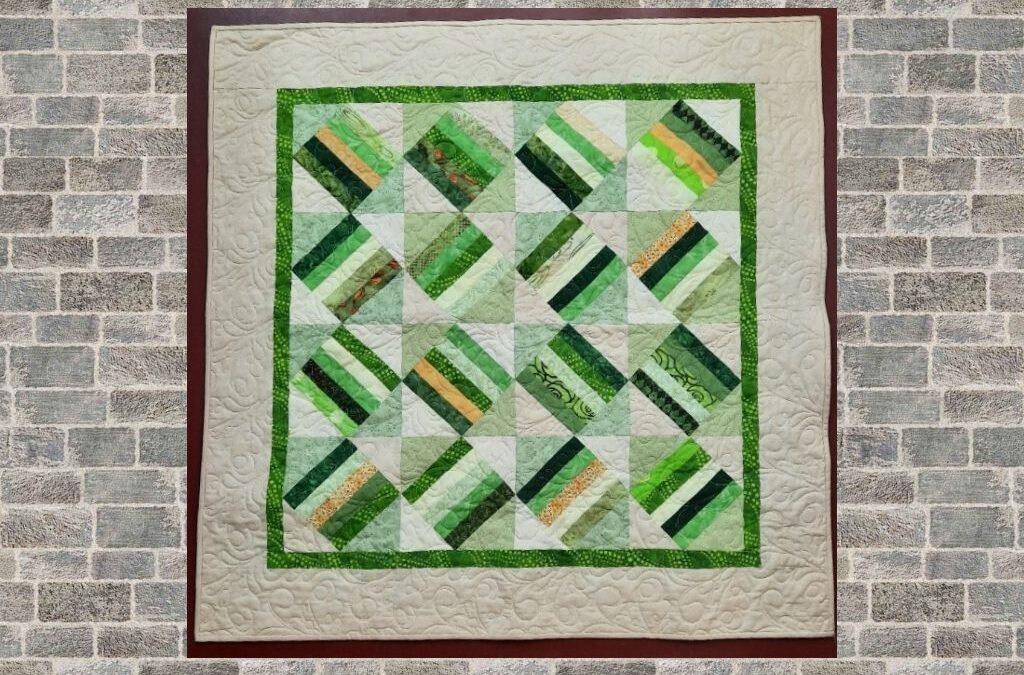
Your quilt blocks are sewn into rows and your quilt is starting to take shape with just the Quilt Borders to go!
Are you one of these quilters who gets to this part and says to heck with it I just want this done? In doing that, do you just cut a hunk of fabric, slap it on the quilt top, and call it done? I mean that should work right?!
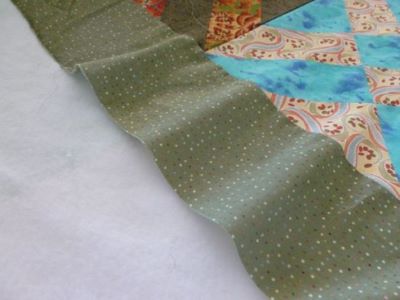
Well, not exactly! Just slapping down the fabric and sewing the borders can lead to wavy edges and distorted corners.
Not everything can be “quilted out” and fabric distortion can get worse as you quilt the quilt.
Here are two examples (pictures from the Internet)
For more information and to find out the difference between the “slap and sew” vs the “measure and cut” methods, check out this great blog post I found on it here!
Table of contents
Measure and Cut Method
To get nice flat borders it’s best to use the measure and cut method. Taking the few extra minutes is so worth it!
Lay the finished top out somewhere flat if possible. If this is a large quilt you may have to find some floor space somewhere.
Now measure your quilt top through the top, middle and bottom of your quilt.
Write down the smaller measurement on a piece of paper.
Quilt Border Preparation
Now you need to figure out how many crosswise strips you will need to cut from your fabric. This just takes a bit of math.
I usually add the borders to the sides of the quilt top first and then add the top and bottom borders. However, this is just personal preference and it doesn’t really matter.
More than likely you will need more than one crosswise strip to complete your border. To join these strips together you should mitre the seams.
The only times you may not want to mitre the seams are as follows
- You are really tight on fabric and a mitred seam may make you run out
- The pattern in the fabric would look better with a straight seam
How to Mitre a Seam
Now that you have cut the number of strips you need, it’s time to join them together so they are one long length.
First, cut off those selvedges! The selvedges are a different weave than the body of the fabric and won’t help with keeping your border straight. Cut them OFF!
Lay one strip down on your table right side up.
Now lay a second strip down on top of the first again RIGHT sides up
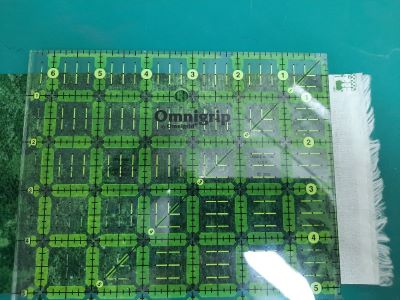
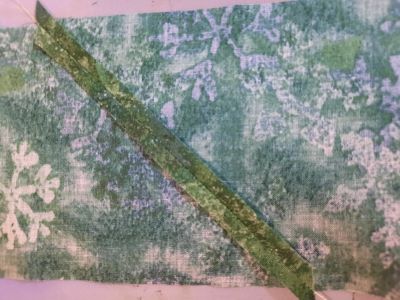
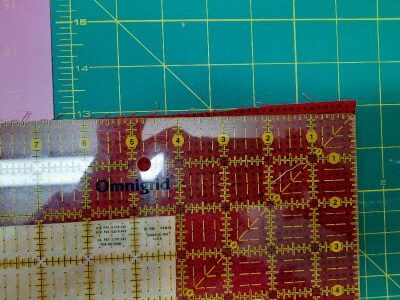
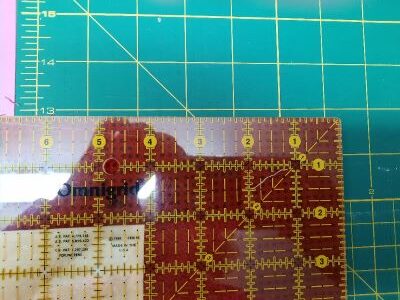
Use the 45-degree angle of your ruler and lay it across the top of your fabric
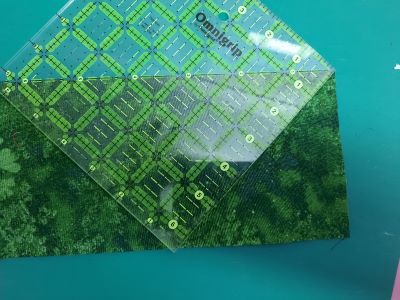
Cut the angle

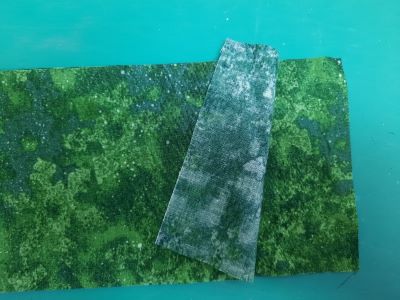
Take the top fabric and flip it over so that now right sides are together. Leave the little ¼ inch dog ears on each side.
Sew the seam
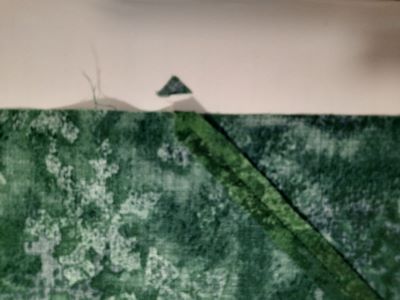
Press seam open
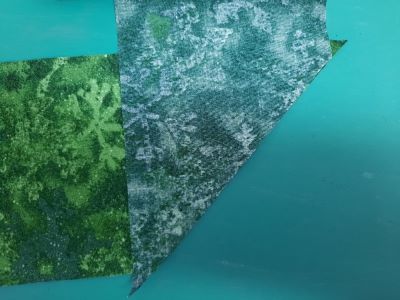
Cut off the dog ears
Attach the third strip in the same way as above. You will then have one long strip of border fabric.
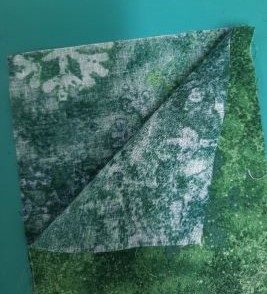
Fold the long strip in half. You will be cutting the two borders you need at the same time.
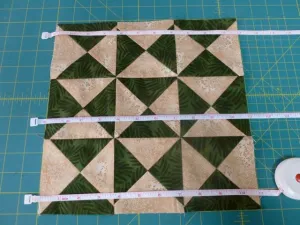
Lay it down on a flat surface with a long measuring tape
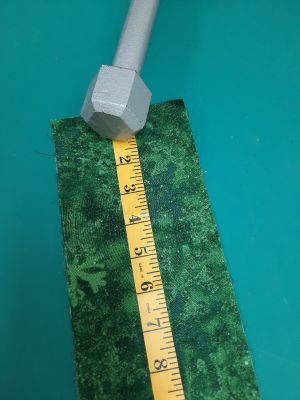
Secure the tape and fabric at one end or ask someone to hold it for you.
Measure out to your length needed.

Place a ruler under your tape measure (make sure you have a cutting mat under the fabric if doing this on the floor! Make sure you move the tape measure out of the way as you don’t want to cut it.
You now have two borders exactly the same length ready to pin onto the sides of your quilt.
Pinning the Quilt Borders to the Quilt
To sew the borders onto your quilt you will want to pin them first! Yes, I can hear the non-pinners groan. You can get away with not pinning for a lot of things but sewing long borders onto a quilt is NOT one of them. Not pinning will result in stretching the fabric. Pinning is the only way to ensure you are not stretching as you sew those borders on. It will take 5 extra minutes! Ok maybe more if it’s a large quilt but it will be worth it.
To pin the border onto your quilt top first find the centre of the quilt top and mark this.
Next, find the centre of the border piece you are applying and mark it.
Match up the border and the quilt top, right sides together. If the border is long, you will want to do this in quarters as well.
Place a pin on one end of the border and then again on the other end. You should now have 3 pins or 5 if a really long border. Now pin evenly until everything is nice and flat.
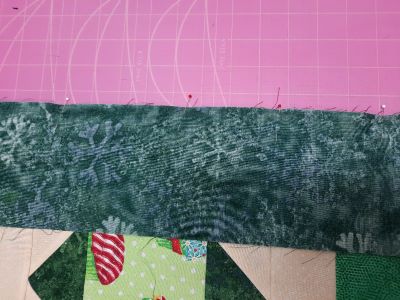
This is now ready to be sewn.
Sewing the Border
Now you have pinned your border it’s time to sew it.
If you are sewing the inner border you will want to sew the border on with the quilt top facing up. It’s easier to see where you are sewing and to keep the seams laying in the right direction if they are facing you and not the sewing machine bed.
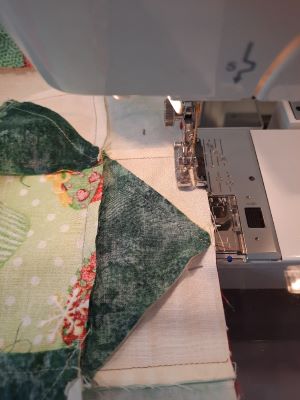
For the outer border, this isn’t as important as there aren’t as many seams to worry about.
Pressing the Border
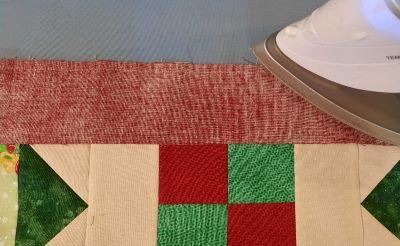
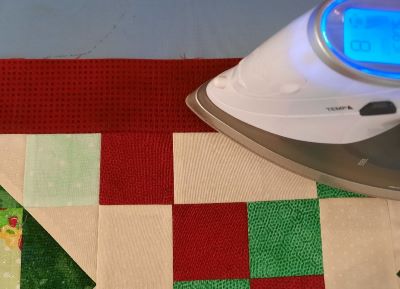
It’s now time to press. Press the seam to set it first.
Pressing the seam towards the border. Always press to the least resistance. See how nice and flat the border lays.
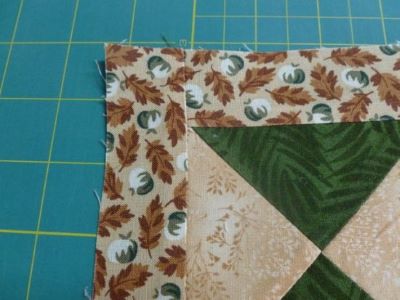
Squaring the Quilt Border Ends
The last step in the process is to take a ruler and make sure your ends are squared before you attach the top and bottom borders. You should do this after each border addition. You may not think this is important but it does help keep everything square.
Rinse and Repeat
Now that you have put your side borders on, time to measure again. Don’t forget the measurement will no longer be the same.
e the correct measurement then go back and do the above steps again until all the borders are done.
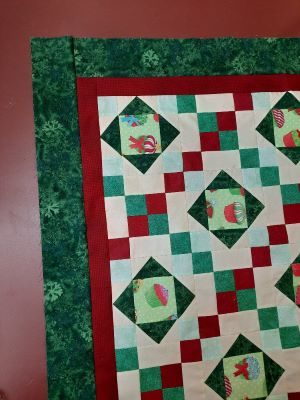
Stand Back and Admire
Whew, you’re done and look at how lovely your quilt top lays flat and square (or rectangle as the case may be) on the floor. Defiantly worth the extra effort!
Happy Quilting!
For more Quilting Tips and Tricks Head over to this Page!
Perfect Binding Guide
Sign up for my monthly newsletter

0 Comments