Sep 8, 2018
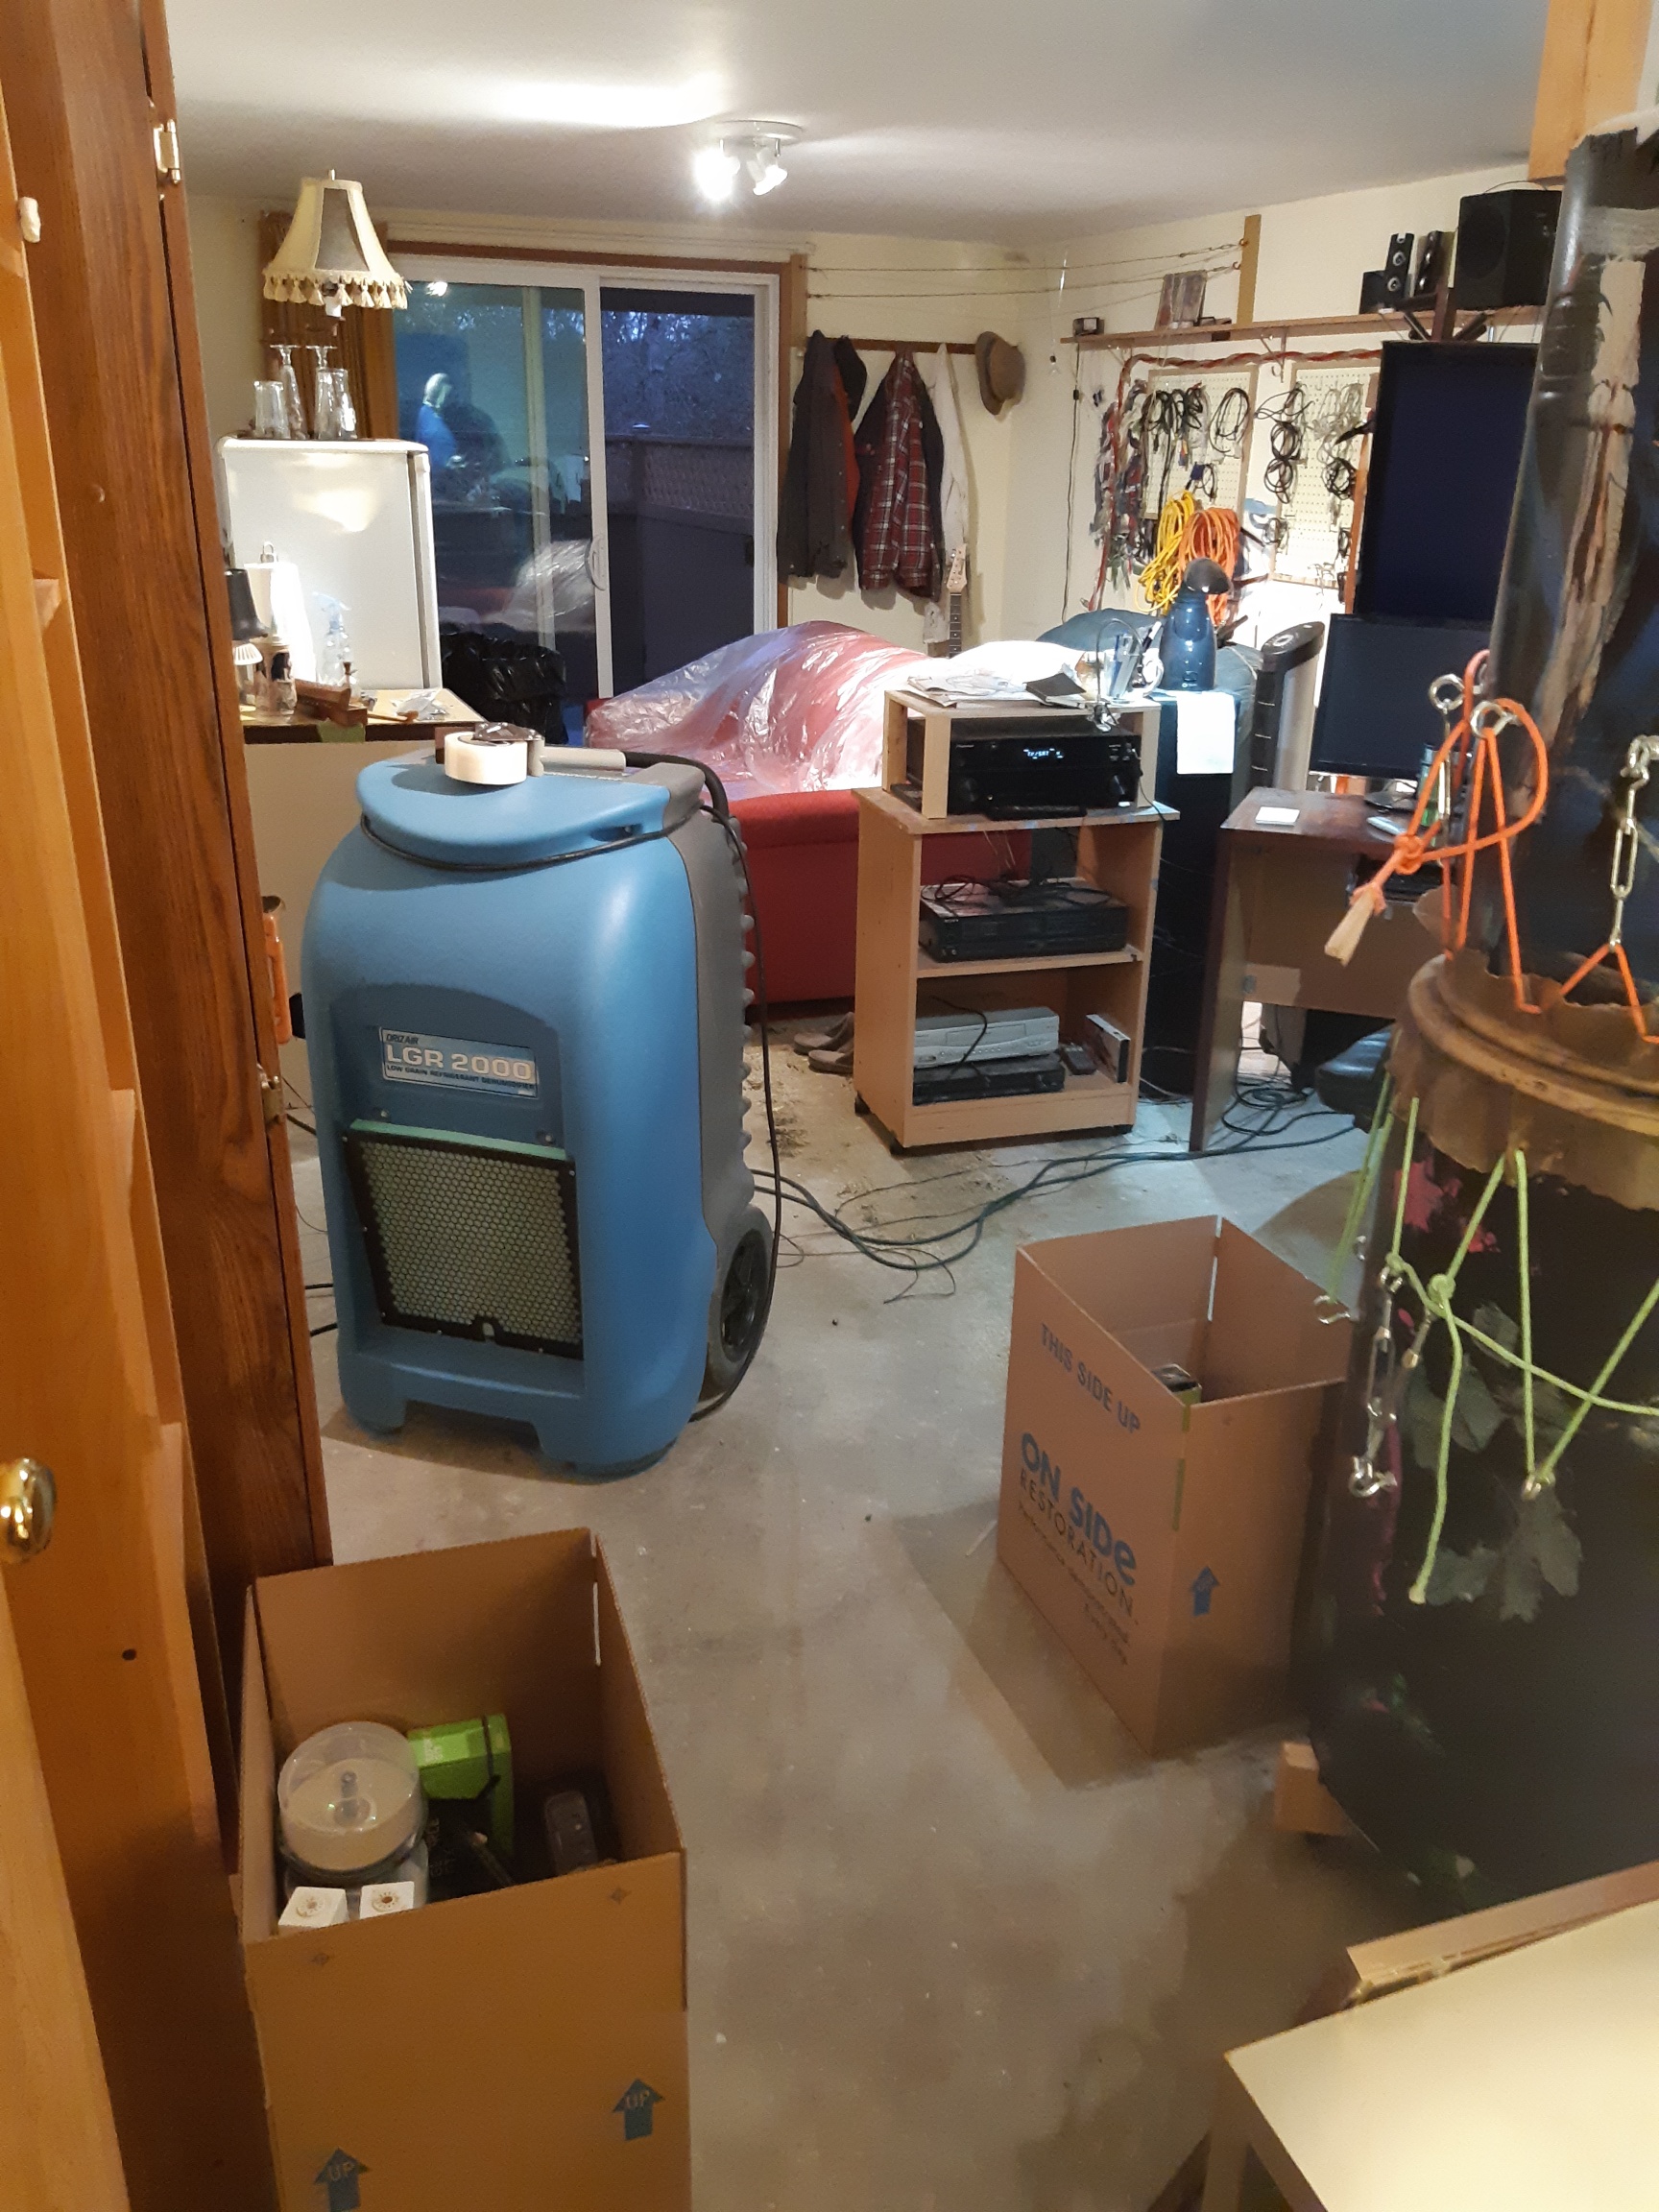
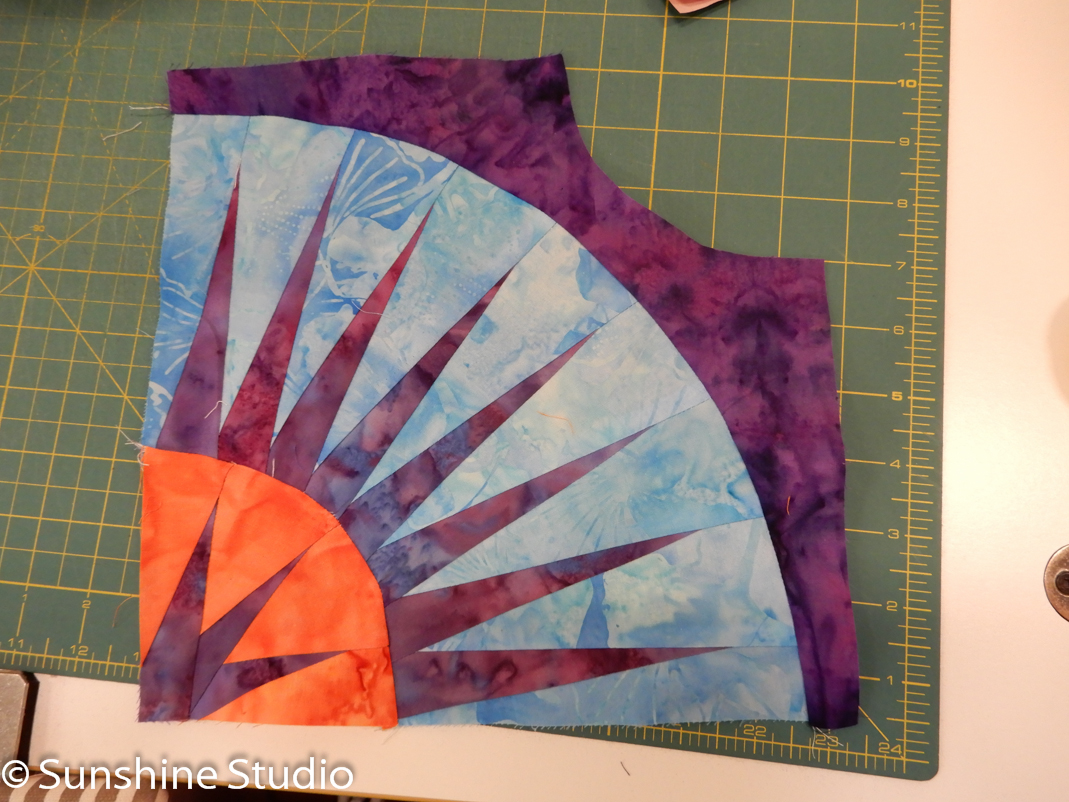
So in 2008, yes at least 10 years ago, I purchased a Judy Niemeyer pattern called Rain Drops. They have since redesigned it and it now looks similar to the original pattern but it now has more “raindrops” than the pattern I have. I started gathering the fabrics over the next few years then packaged it up and there it sat for another 4 years. In 2017 I actually started working on it and now it looks like this
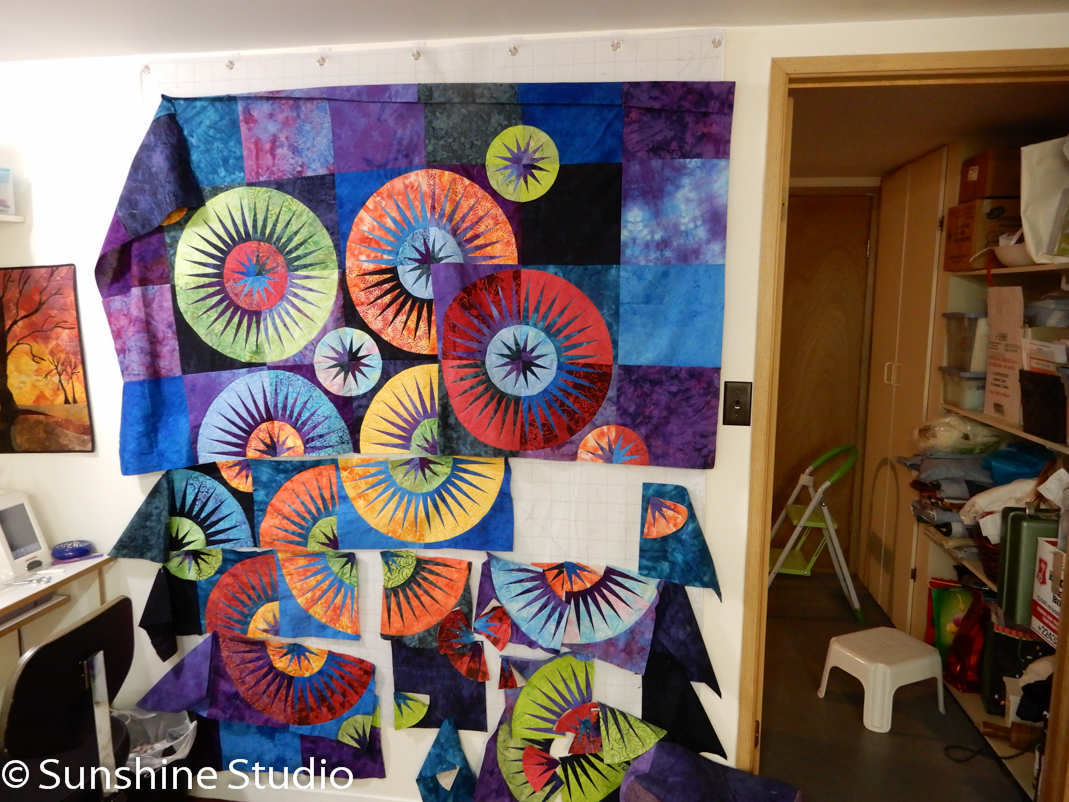
Ok ignore the messy stuff on the right, obviously, I should have closed the door when taking the picture or cropped the picture. Since I am running out of time today you will please just forgive the mess.
So, it still has a ways to go however it is finally coming along! Yeah. I only have about 12 more quilts that are all kitted up to complete. Maybe I will be finished those in another 12 years. Of course, once I have this as a top then I will actually have to quilt it! That is a whole other story.
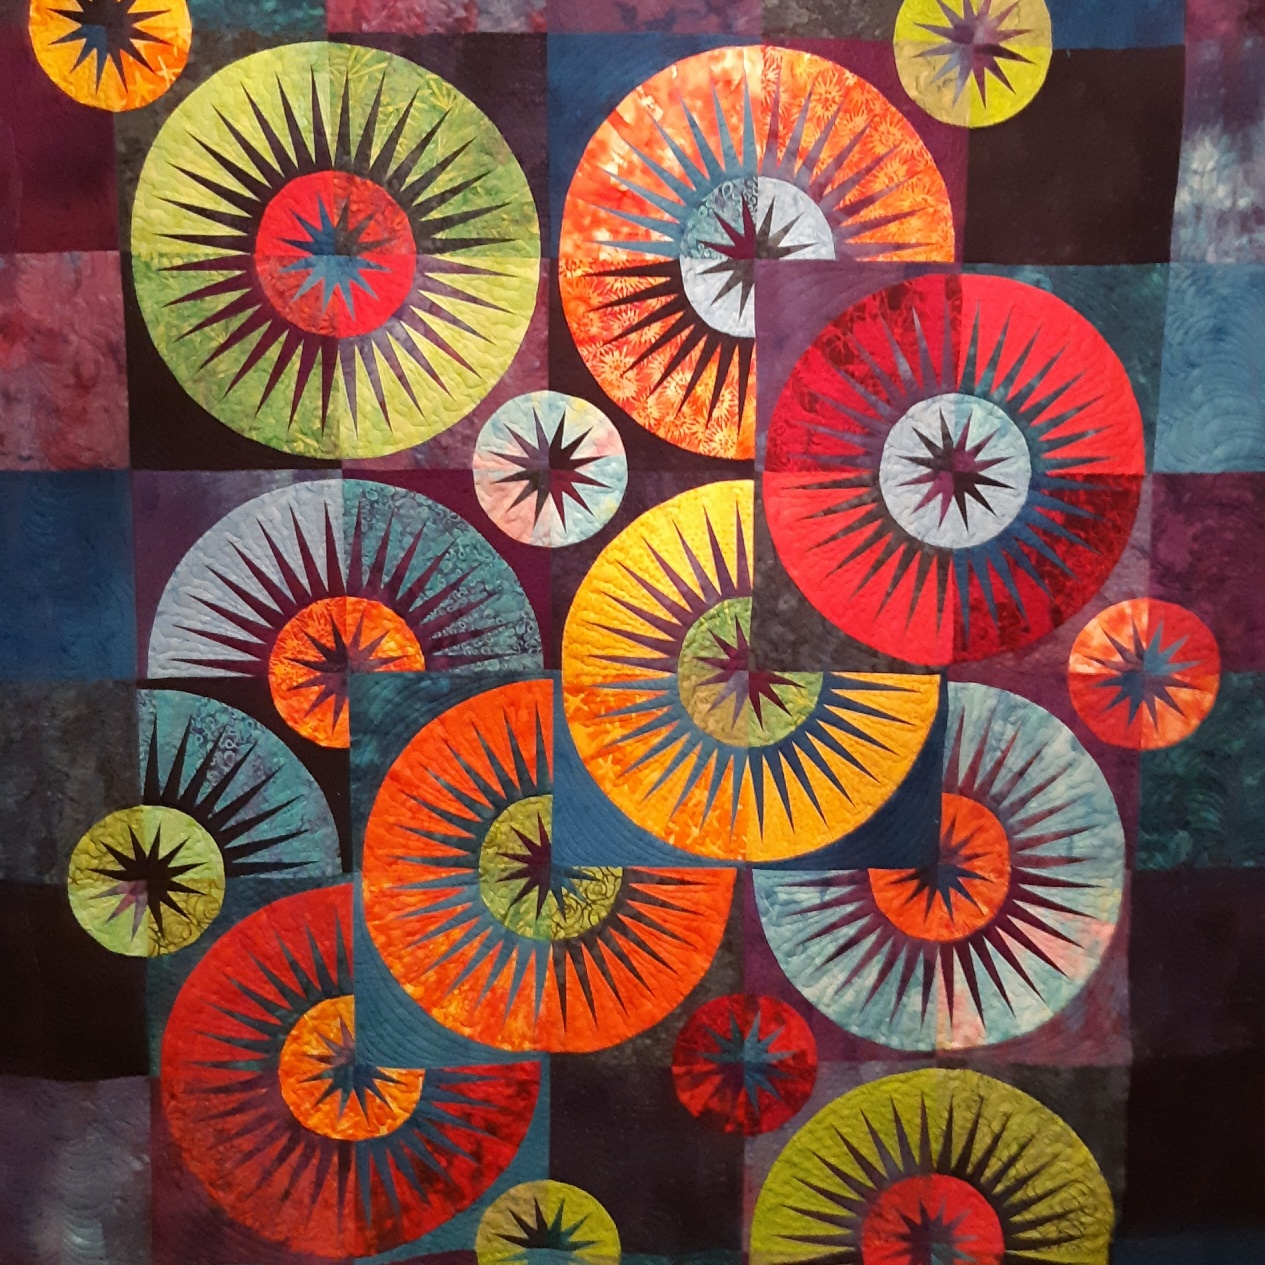
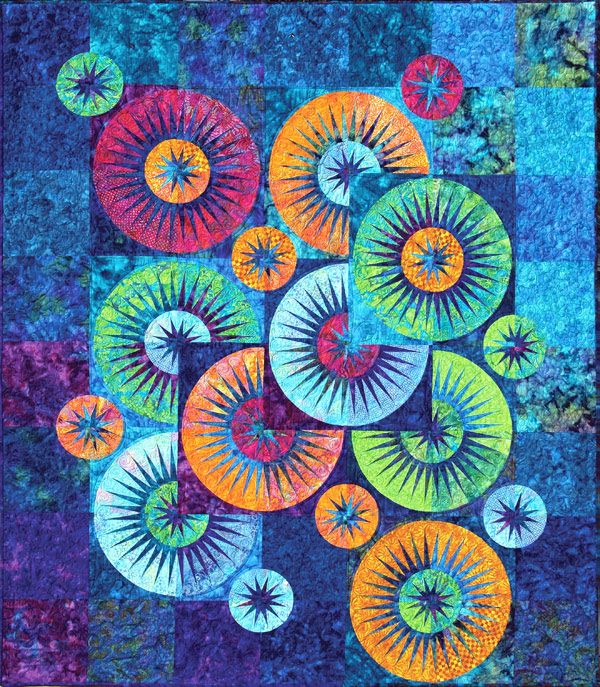
Here is the original picture of Rain Drops that is on the cover of my pattern.
Curved Piecing
So, I have had this quilt on the design wall for a few weeks now and I have had a lot of my clients asking me about how I do the curved piecing. Now I should probably do a video on this and perhaps I will but for now, I thought I would try to explain in pictures.
First, for those of you have ever done garment sewing, doing curved piecing in a quilt is very similar to setting in a sleeve on a dress or top. The larger curves (which I had already sewn before deciding to write about this) are a lot easier to sew in than the smaller ones. With the smaller curves, they are just a little bit deeper so you have to be a little more careful but it is really not hard once you get the hang of it.
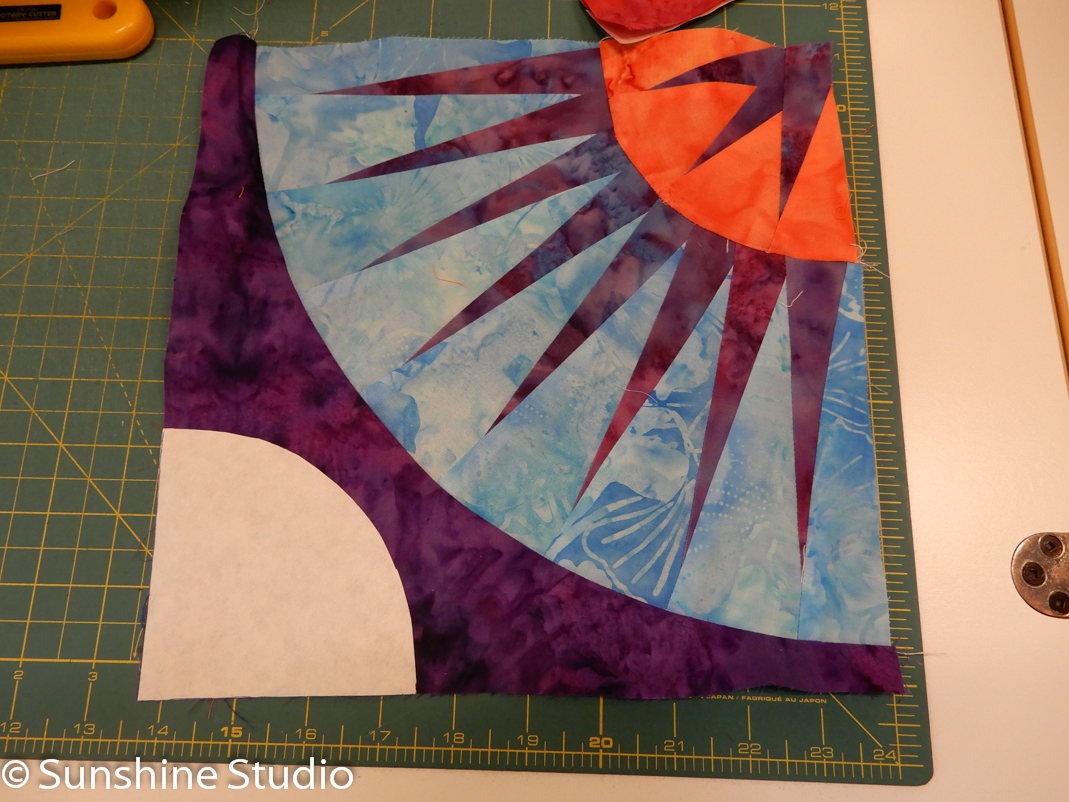
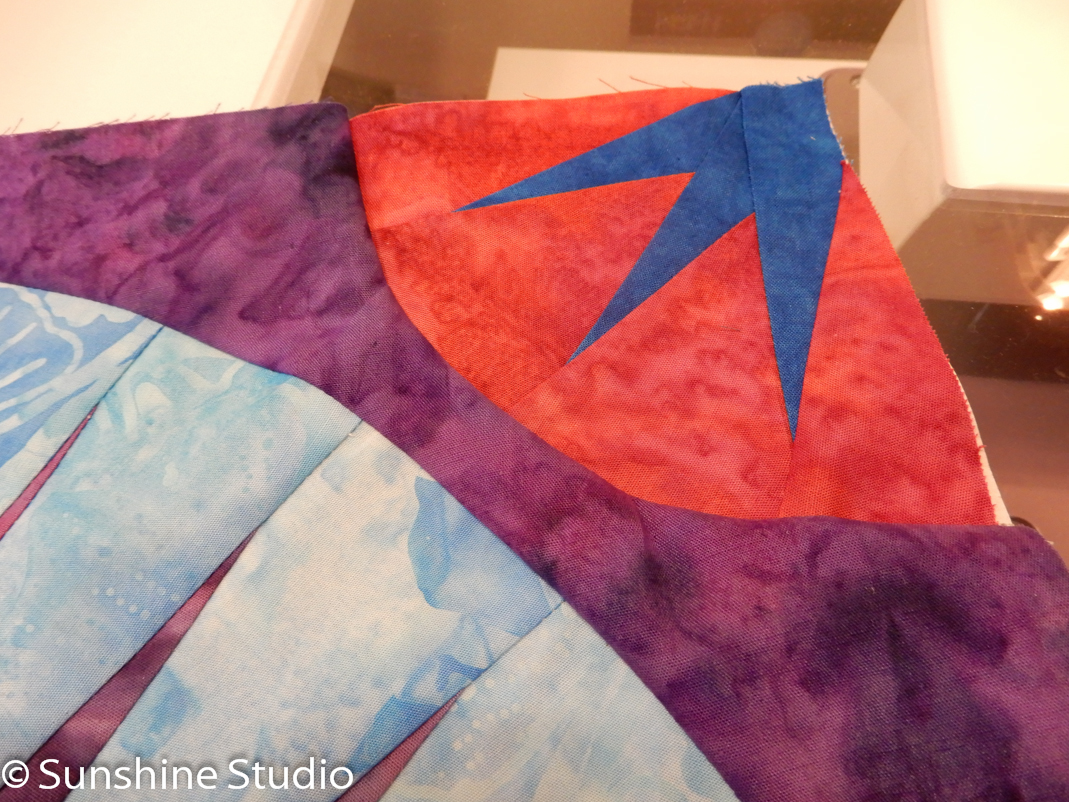
For this design, I had some blocks that required two small star pieces to be added in. I cut out my template from freezer paper and ironed it on the completed block.

From there I freehand cut around the template using my rotary cutter. I guess you could use a ruler to help you if you felt you needed it. I do it this way, I do usually have my left hand (I’m right-handed) holding the area I’m cutting around down for stability, however, it was hard to show that and take the picture at the same time. You just have to be very careful you keep your fingers well out of the way of the blade.
so once it has been cut it will look like this.
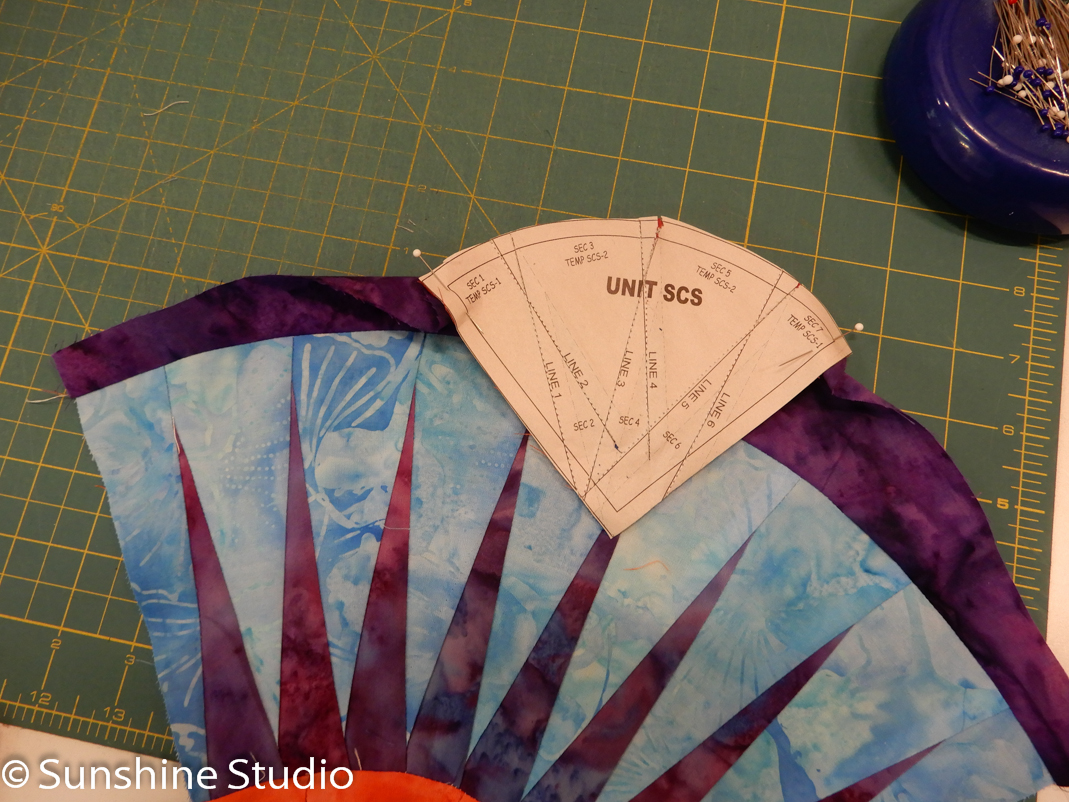
The next thing you do is find the centres of both the block and the star piece you will be piecing into the block. Place a pin at both ends and one in the middle. Now pin around the edge, using as many pins as you need.
It will now look like this.

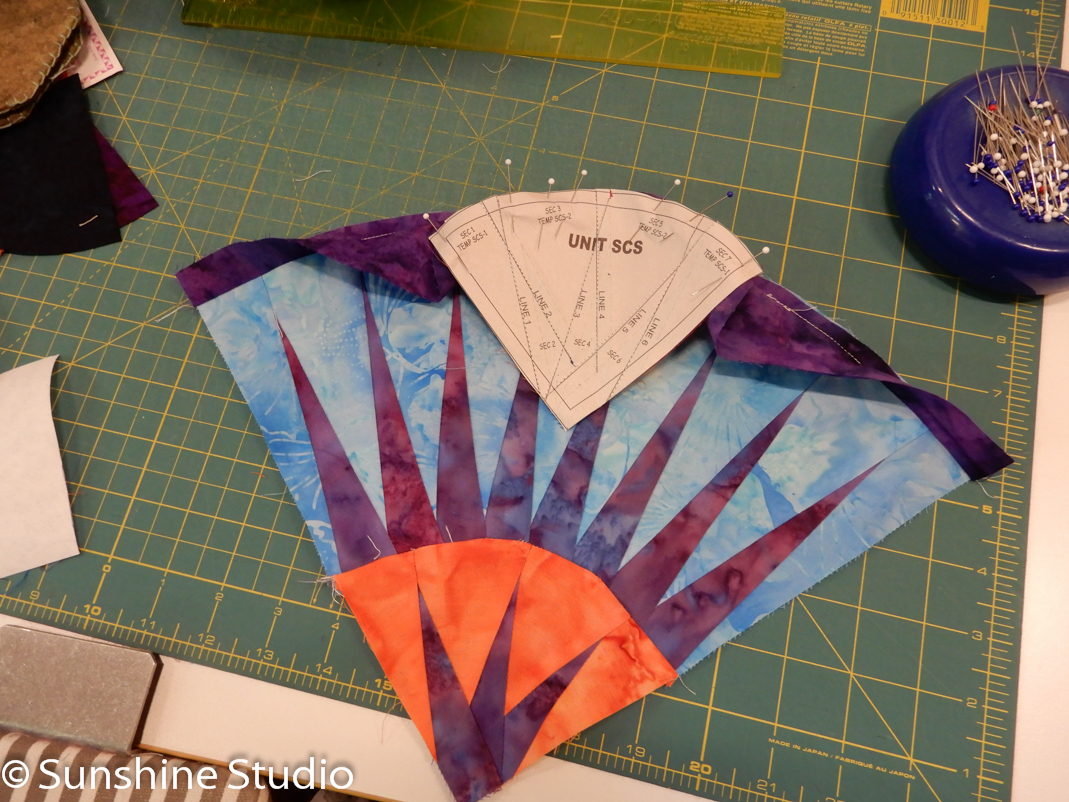
Always sew on the inside of a curve. In this case, it is with the paper facing towards you. It just makes life a lot easier.
See, curved piecing completed. Now to remove the paper and press the block. Now, I didn’t take pictures of this and maybe that is something for the next post, however, I tend to just press the seams the way they want to lie the flattest. I used to worry about the seams being opposite to one another but I find that as long as you match your adjoining seams up well there really isn’t a lot of bulk at the seams if they are both pressed the same way and in the end, with curved piecing it sometimes actually makes the quilt press flatter if you don’t worry about that. Everyone is different though and I know Judy does have a pressing diagram on the pattern.
So there you have it curved piecing. It is not a quick process but it is not hard either. Maybe give it a try.
Happy Quilting
Sep 16, 2016
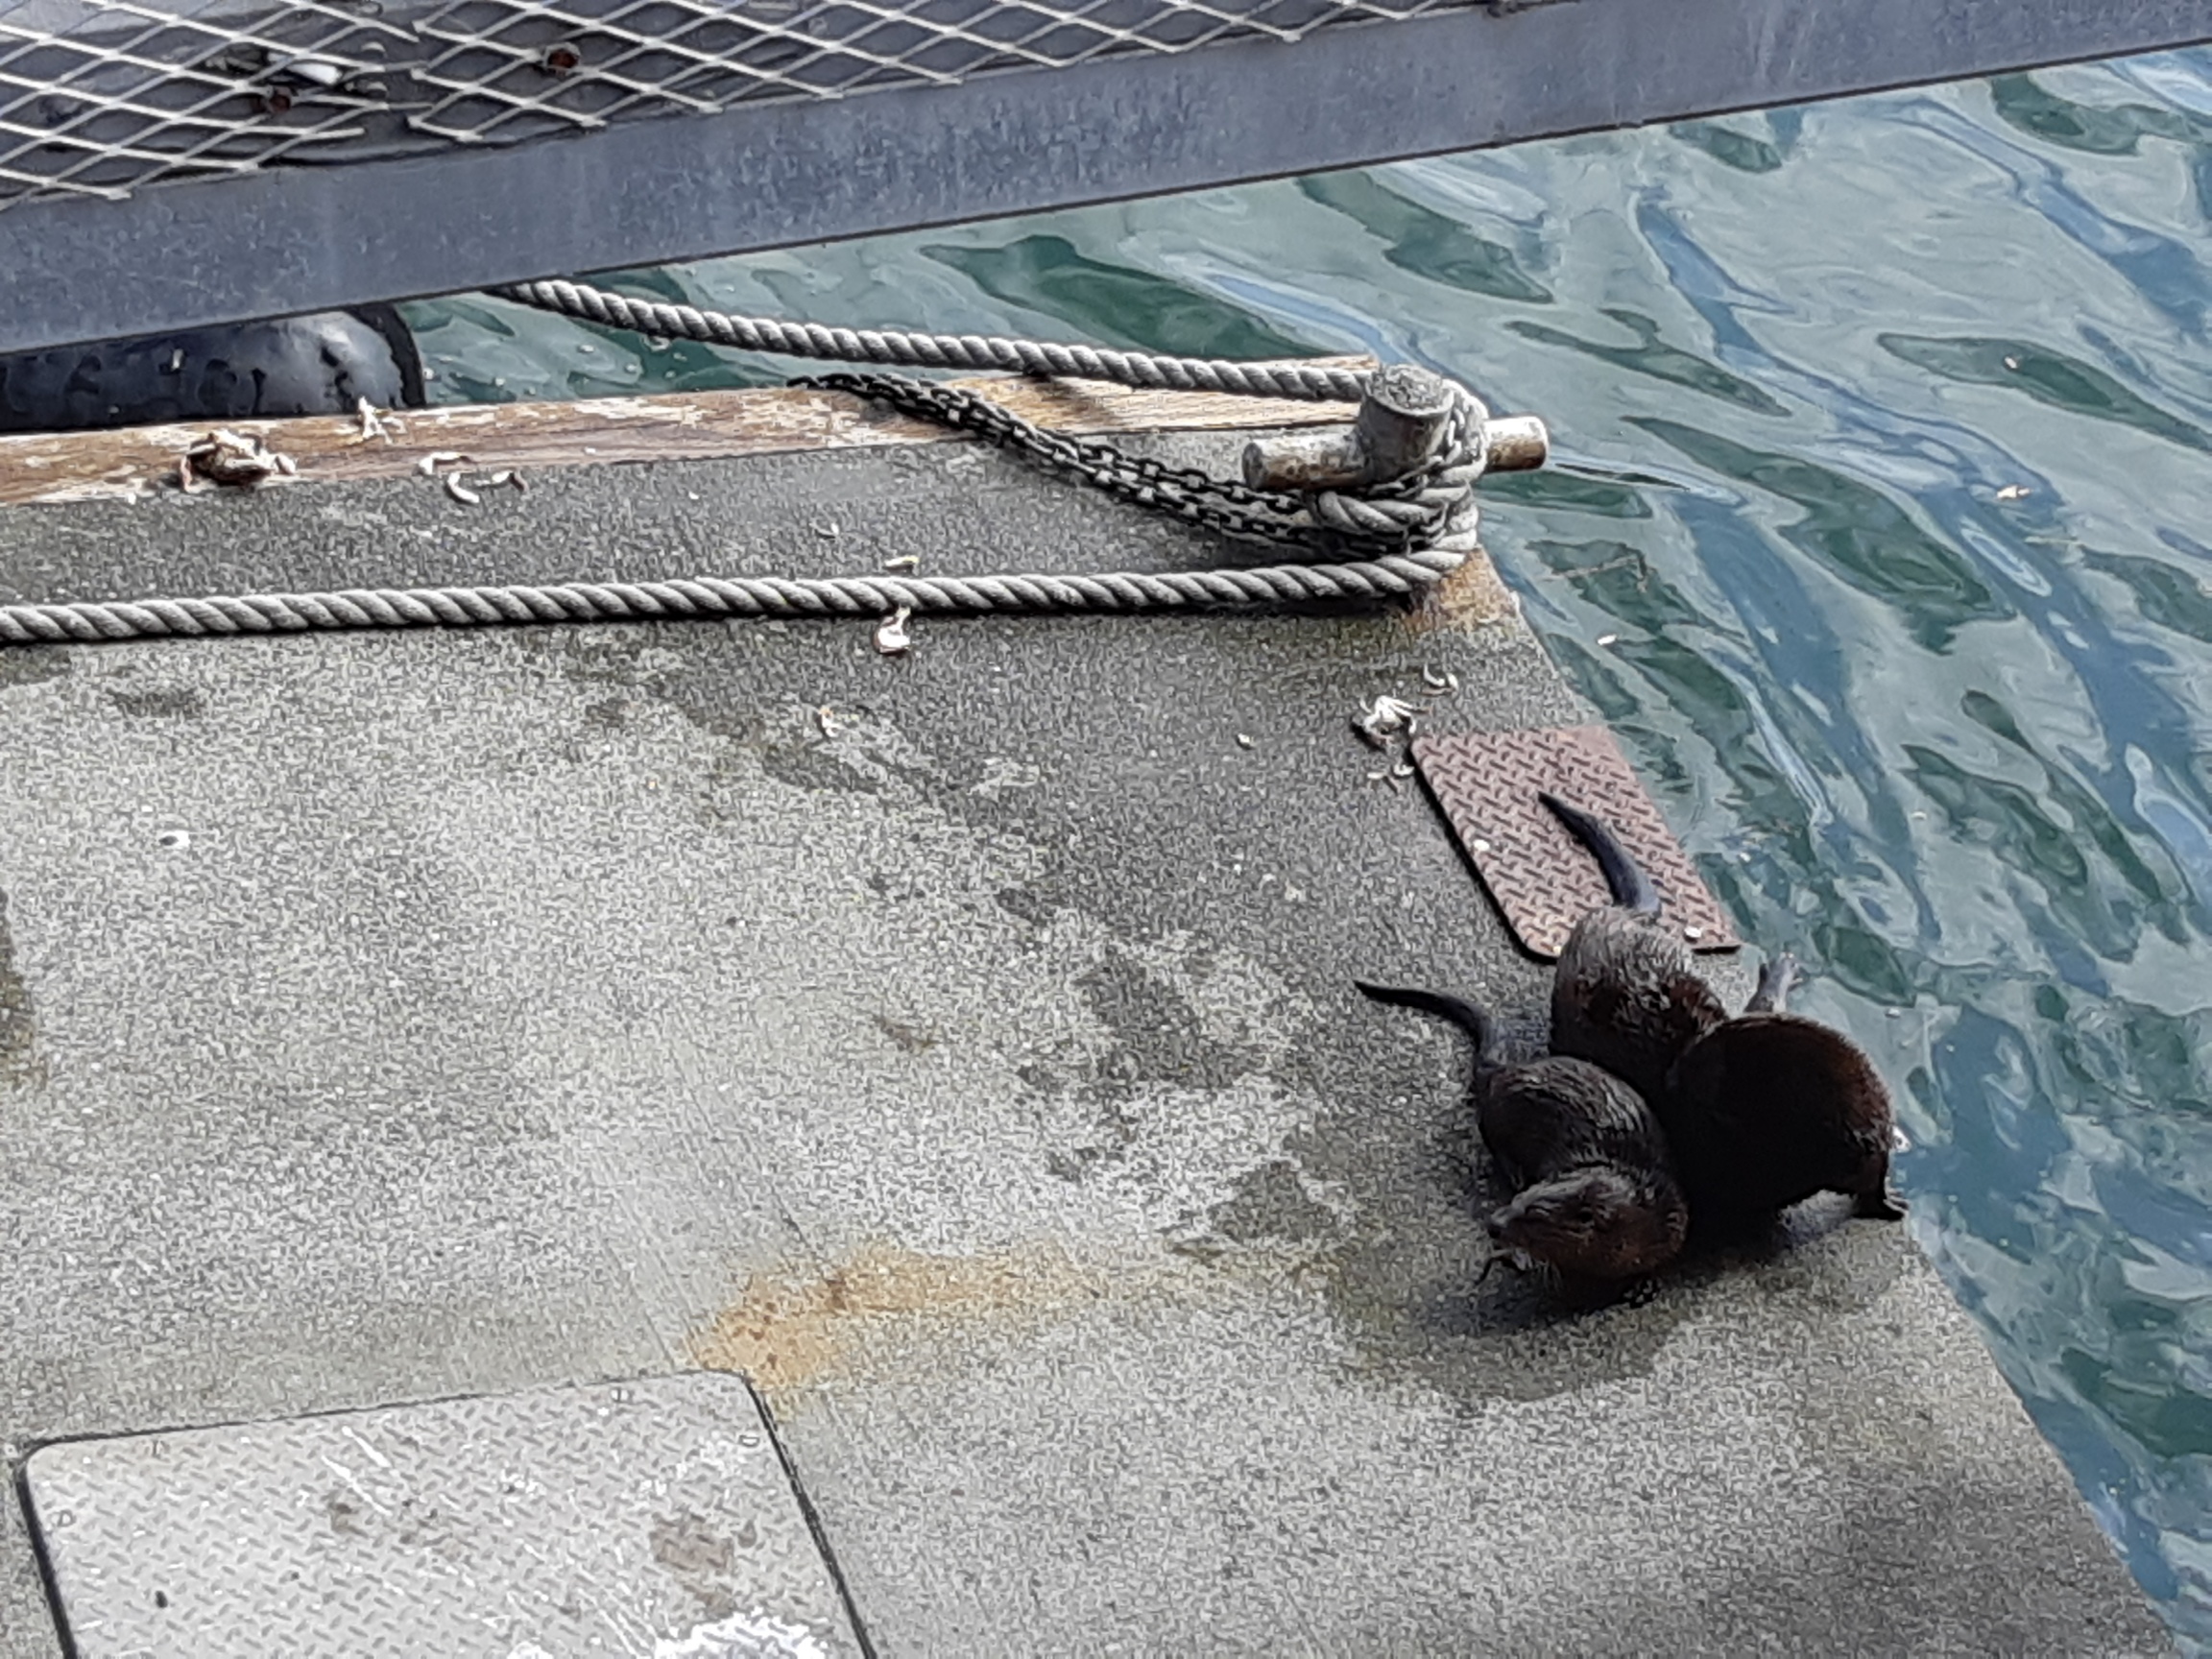
At the townhouse complex where I live we have a clubhouse that can be rented out. This clubhouse has a very large space perfect for good sized gatherings. It has enough space and tables available so that we can comfortably accommodate 14 quilters with machines. There are at least 3 quilters living in this complex and two of us are part of a group that gets together and sews one Saturday a month.
This past weekend I volunteered to put on a Judy Niemeyer mini sewing retreat at the clubhouse. A lot of the group were on holidays so there ended up being only 7 of us but we had a great time. Some of the group had made several of Judy Niemeyer patterns before and were raring to just get to sewing and others in the group had never done one of her patterns before. I am not a certified Judy Niemeyer teacher however I have done enough of her patterns and have attended a class with Judy herself so am not a novice to her techniques.
It is so much fun doing more difficult projects with others. The amount of laughter and shared knowledge was fantastic. One of our group had purchased a fabric and pattern many years ago when Judy Niemeyer came to Victoria to teach but hadn’t looked at the “kit” since then. There was 5 of us around the table trying to figure out which fabric was for which part of the pattern and get it all labeled. In doing this it was a unanimous decision that one of the fabrics that had been picked so long ago just wasn’t going to work and so off our friend went to an impromptu fabric shopping spree to get a better fit. She was back in under an hour purchase in hand. I can’t wait to see that quilt finished it is going to be beautiful.
We had all day Saturday and most of Sunday sewing and I can’t think of a better way to spend the weekend than sharing it with friends. Everyone got their project cut out and in “baggies” on Saturday and we all started sewing on Sunday. Some got further than others. I now have another WIP (work in progress) that I will have to put aside for now as I have signed up for a craft fair at the end of October so will need to start making things to sell for that.
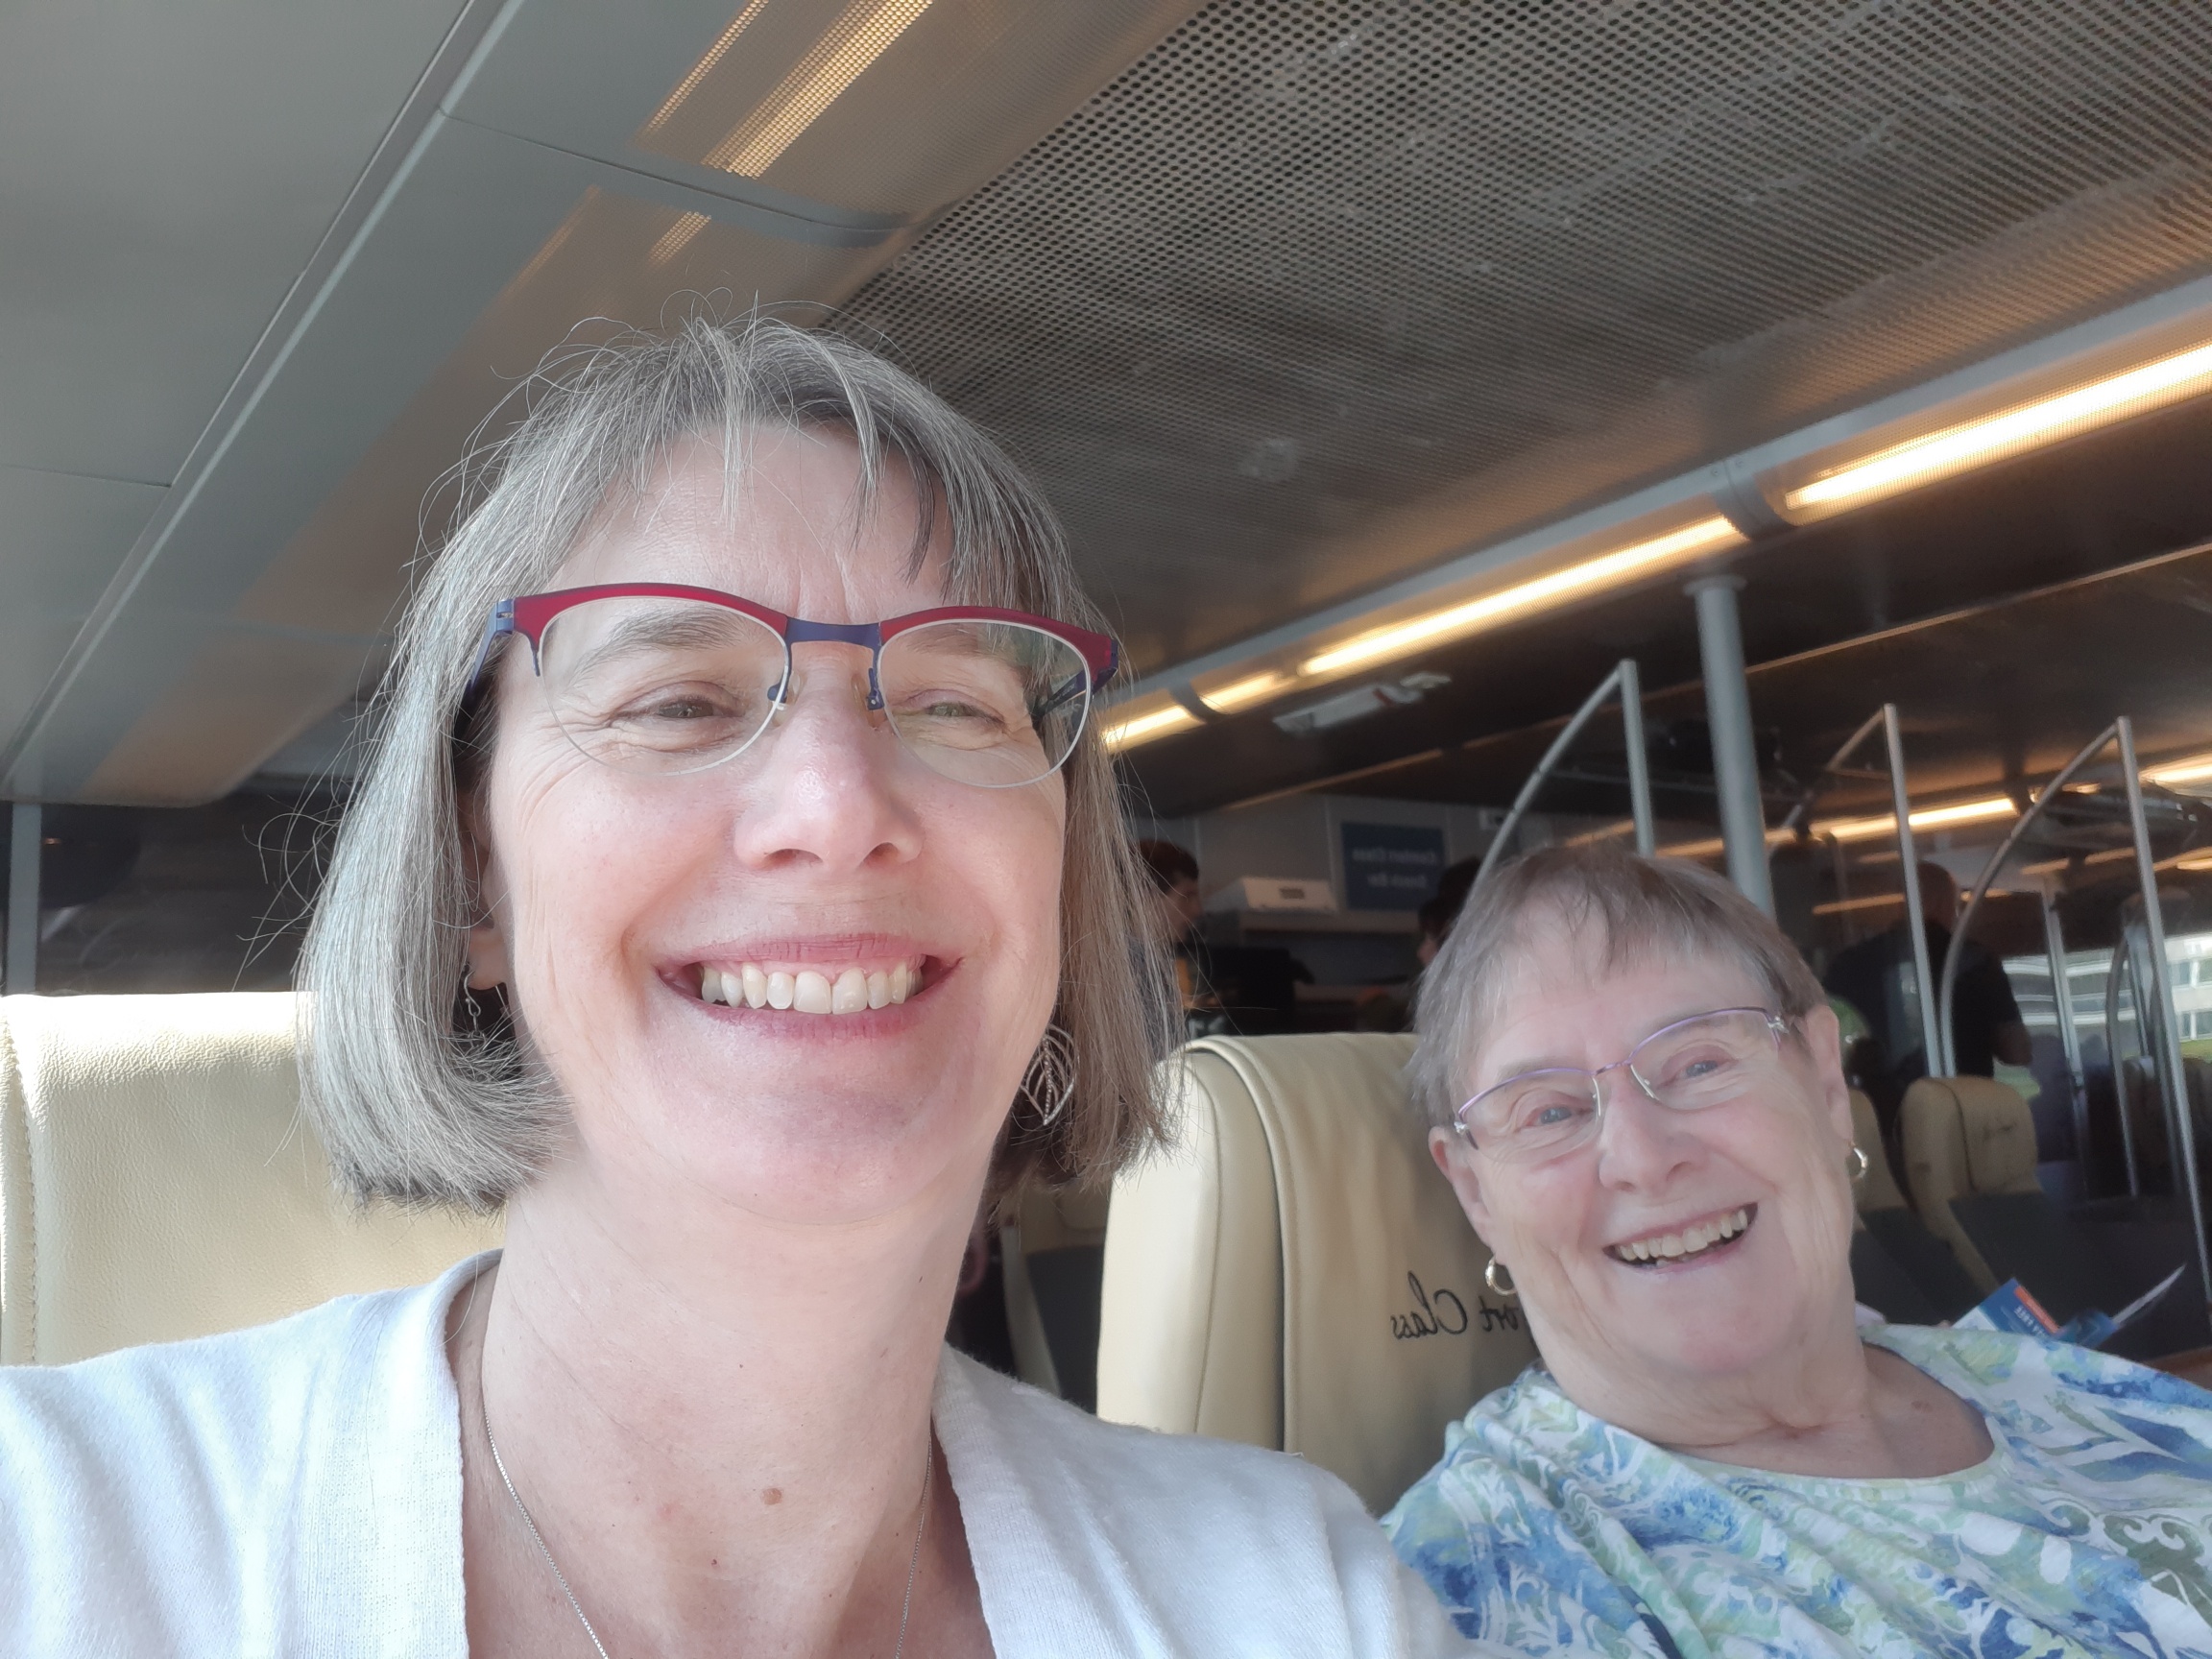
Here are pictures of what was going on last weekend.

My WIP this is a pattern I picked up 9 years ago called Raindrops not sure if it is even sold any more.

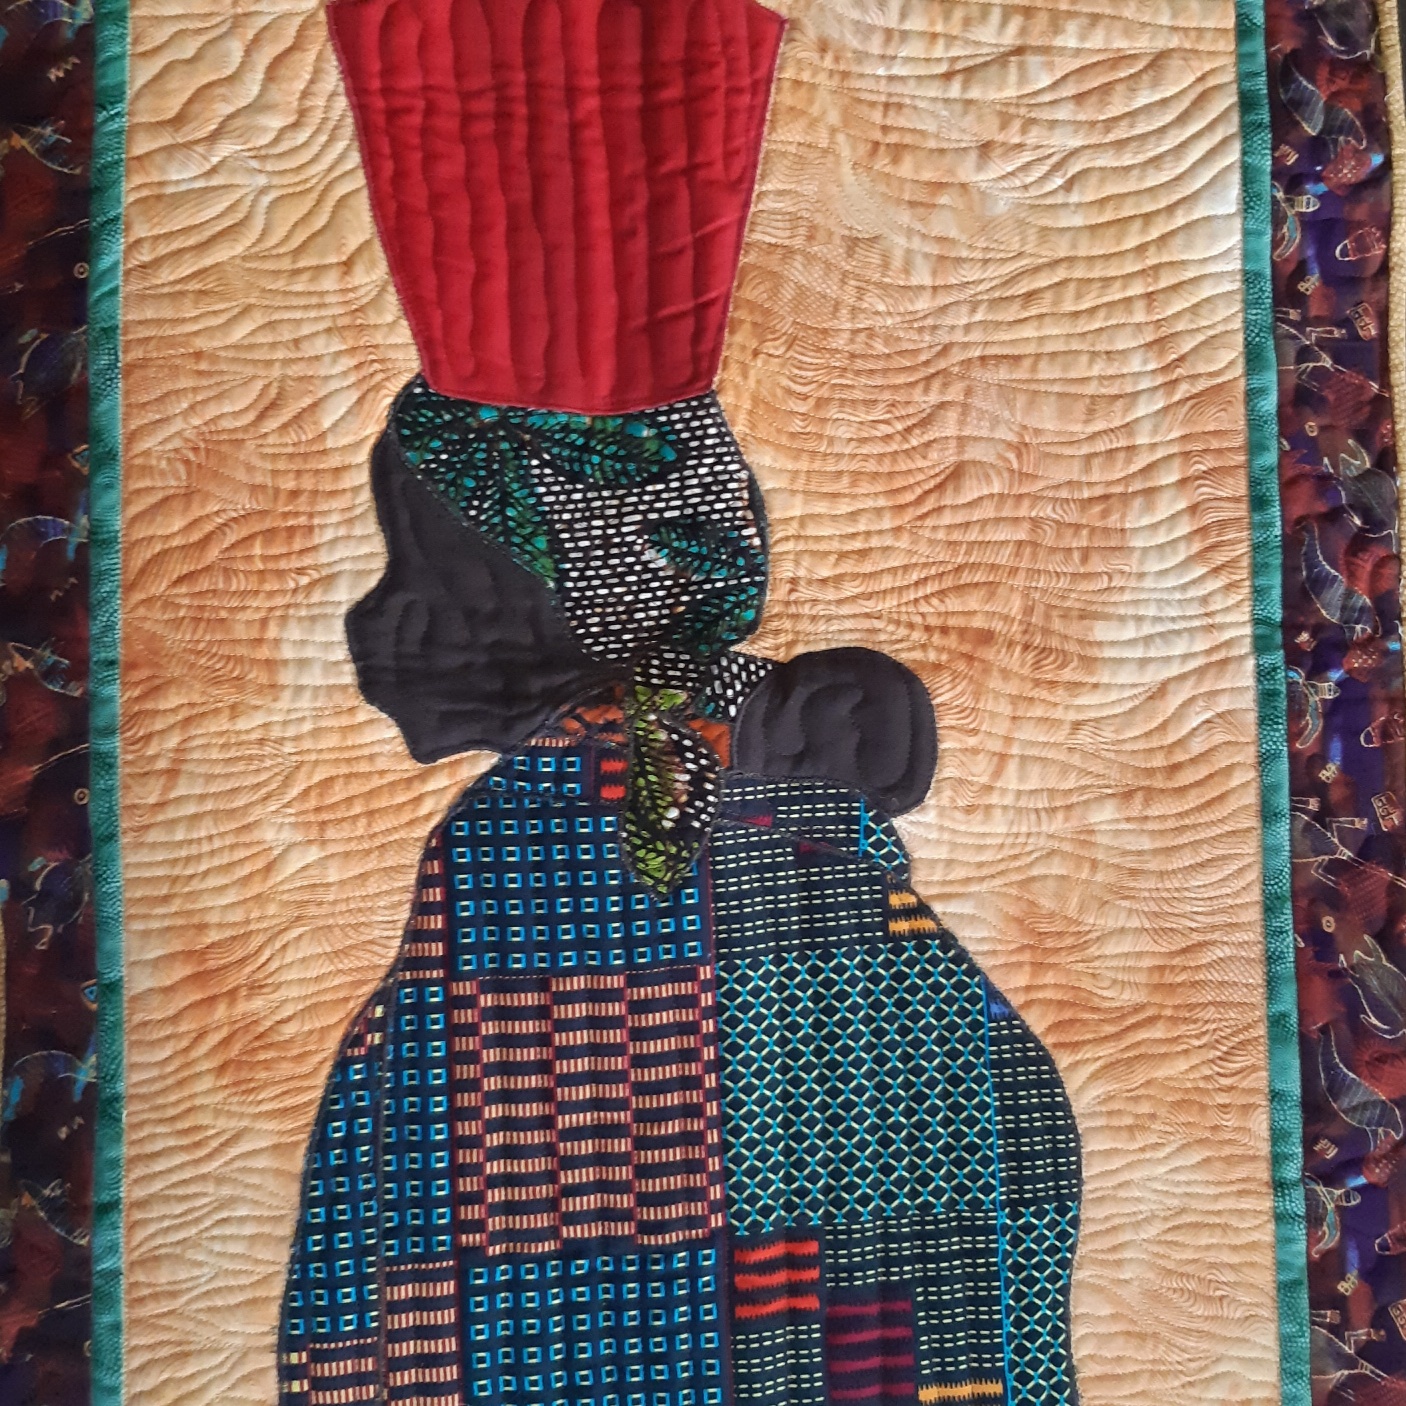
I can’t remember which pattern this is however it is going to be beautiful.
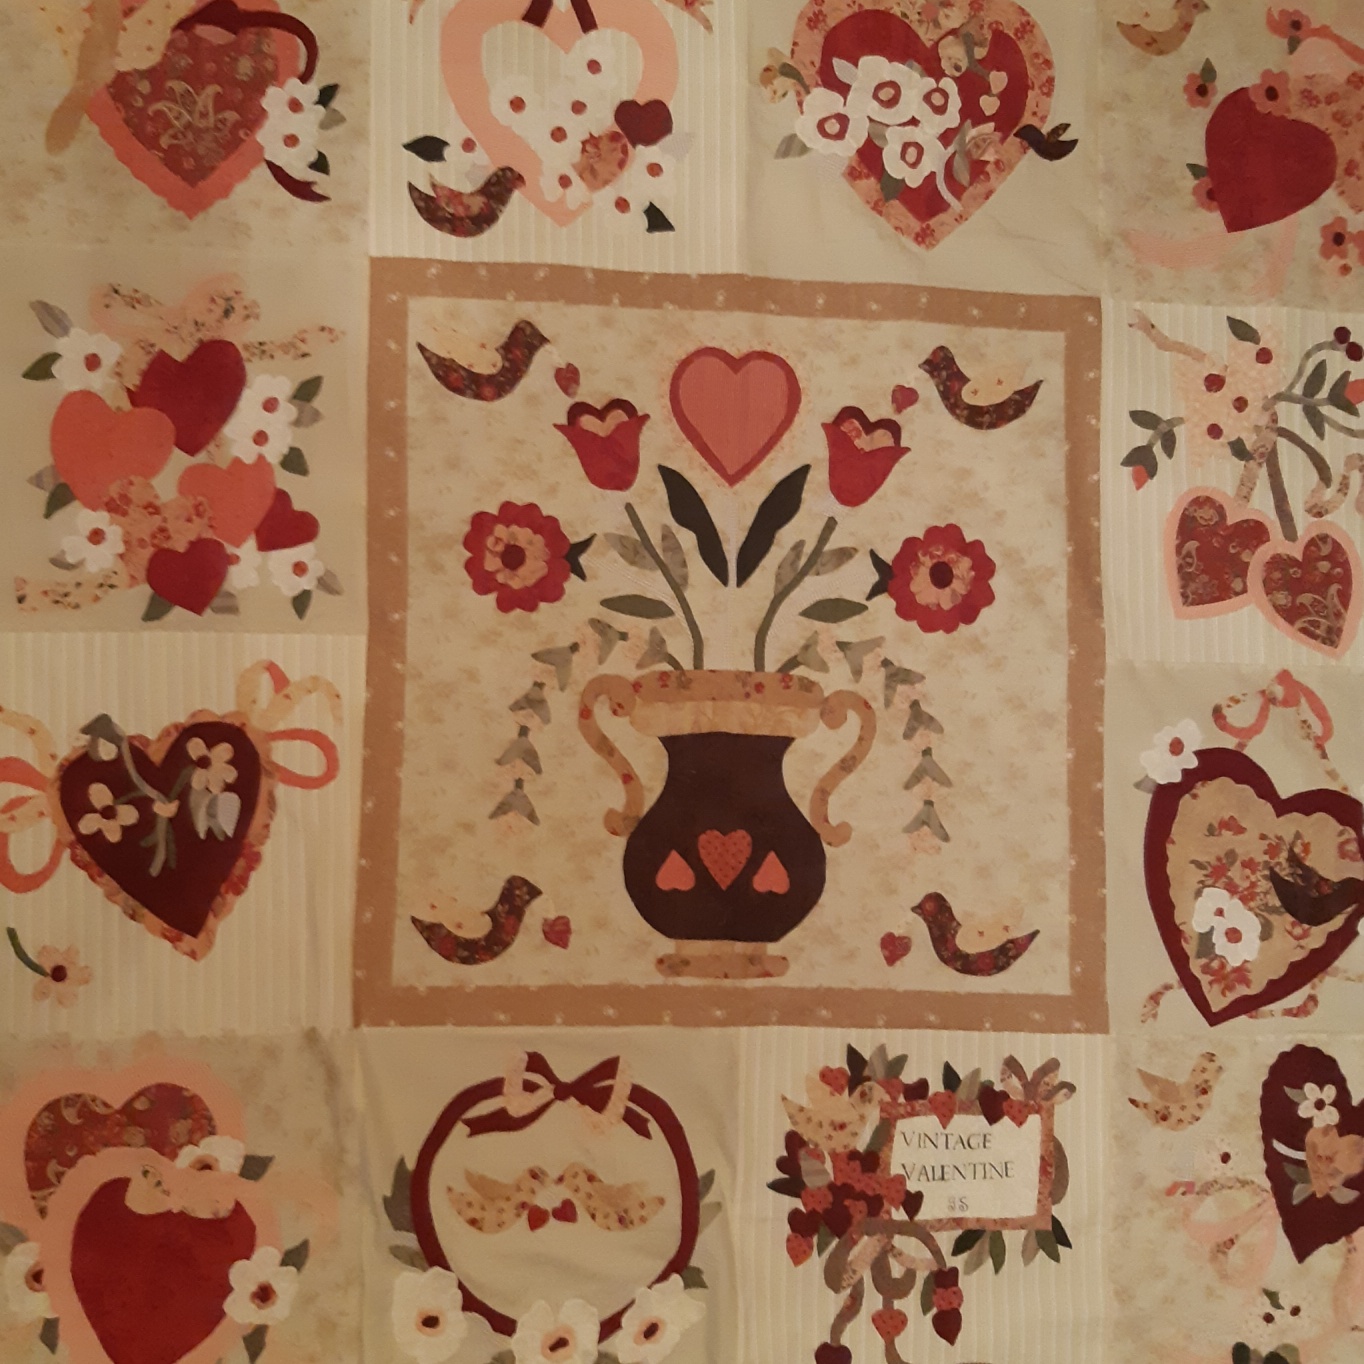
Here are the start of two others as well.
For some of us we are going to have to have a second mini retreat weekend just so we can take out these projects and get them finished.
Remember to sign up for my newsletter. I am currently writing about colour and how to use it in your quilts.
Happy Quilting
Click here to receive the free Inspiration Journal pattern and sign up for the newsletter

Jun 24, 2016
I have a client quilt on the frame and although I know what design I will be quilting on this one as it is just an all over design it got me thinking about how I come up with different quilting designs. My fall back design for all over is a leaf pattern, leaves are easy to do and if they are not perfect that’s OK because nature doesn’t make perfect leaves either. It’s also the first quilting design I learned how to do.
When it comes to all over designs I try to take hints from the quilt itself, for instance one of my client’s quilts was green and red and had nature and leaves in a lot of the fabrics. The quilt design was simple so the meandering leaf design I came up with seemed to fit the bill.
In another quilt I did, a Bonnie Hunter mystery there was so much going on with the design and the many different fabrics I just kept with a simple all over echoed flower design. With that quilt I used a thinner thread (Superior Threads So Fine 50) as I just wanted the texture to show as the quilt was so busy as it was. When I was quilting that design I was thinking oh no not sure I like this but when I got that quilt off of the frame I really, really liked it. The quilt is now on the bed in the spare room.
As I have mentioned in previous posts I don’t do much pantograph quilting as I prefer to quilt from the front of the machine but I did piece and quilt a quilt for a client that was a cat quilt. This quilt called out for paws and I did do that as a pantograph as it would have been to hard to do this totally free hand.

There are other quilts though that just call out for more custom designs like a design in the blocks and another in the sashing and border. I find deciding on what to quilt in these particular quilts more difficult as the choices are so vast. I try to take some clues from the fabrics used but I will admit sometimes I have to drape those types of quilts over my stairwell and stare at them for awhile well I go looking for inspiration.
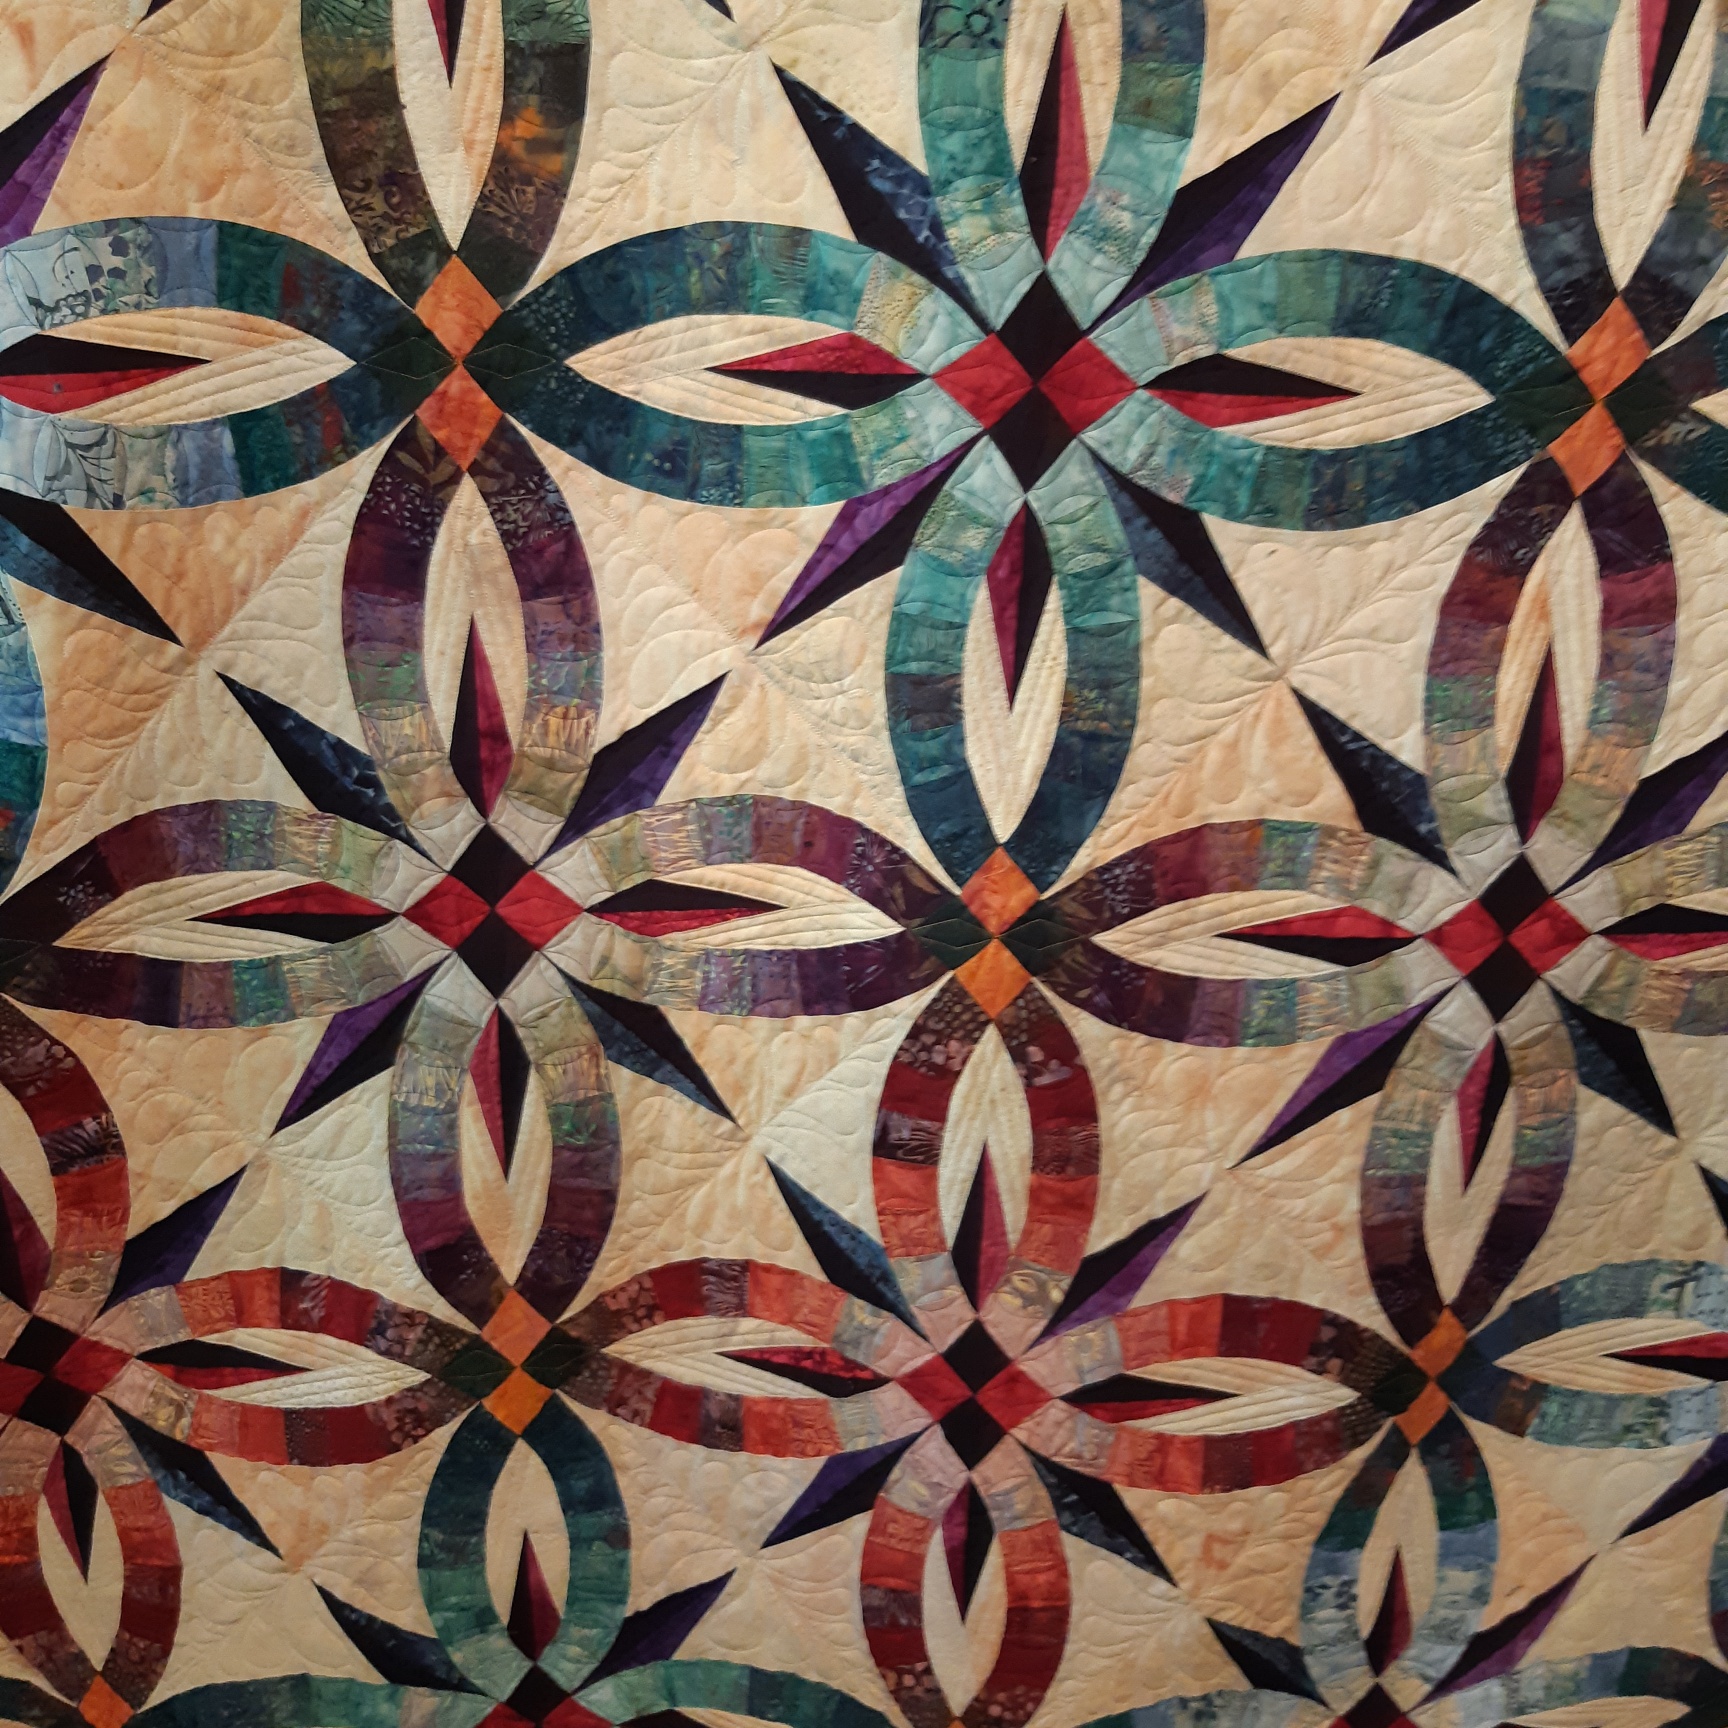
The next quilt on my list to quilt is a Judy Niemeyer Bali Wedding Quilt. I started the top a few years ago and worked on it while going through cancer treatment. I finished the top two years ago and it has been sitting in my “to be quilted” pile ever since. Time to get this one finished I think so I have been sketching out ideas on what to quilt where. I will post pictures of that process in a future post. Meanwhile here is a picture of the pattern. I bought the extra papers for this one and made my top queen size.

My latest favourite quilting quote
I’d rather be stitchin’ than in the kitchen!